Clean keyboard keys with isopropyl alcohol on a barely damp microfibre cloth or a cotton swab, and never pull keycaps off a laptop. Unplug the keyboard first, brush and blow the loose debris out, then wipe each row. The rest depends on your board.
Most keyboard-cleaning advice is written for one kind of keyboard and then applied to all of them. That’s how people end up popping keycaps off a laptop and snapping the little plastic scissor clips underneath, which are not replaceable.
So start here: what kind of keyboard is this?
- Laptop keyboard, never remove the keycaps unless a key is already broken. Clean around them.
- Membrane desktop keyboard (cheap, mushy, one rubber sheet underneath) — keycaps come off, but they’re often fragile and hard to reseat.
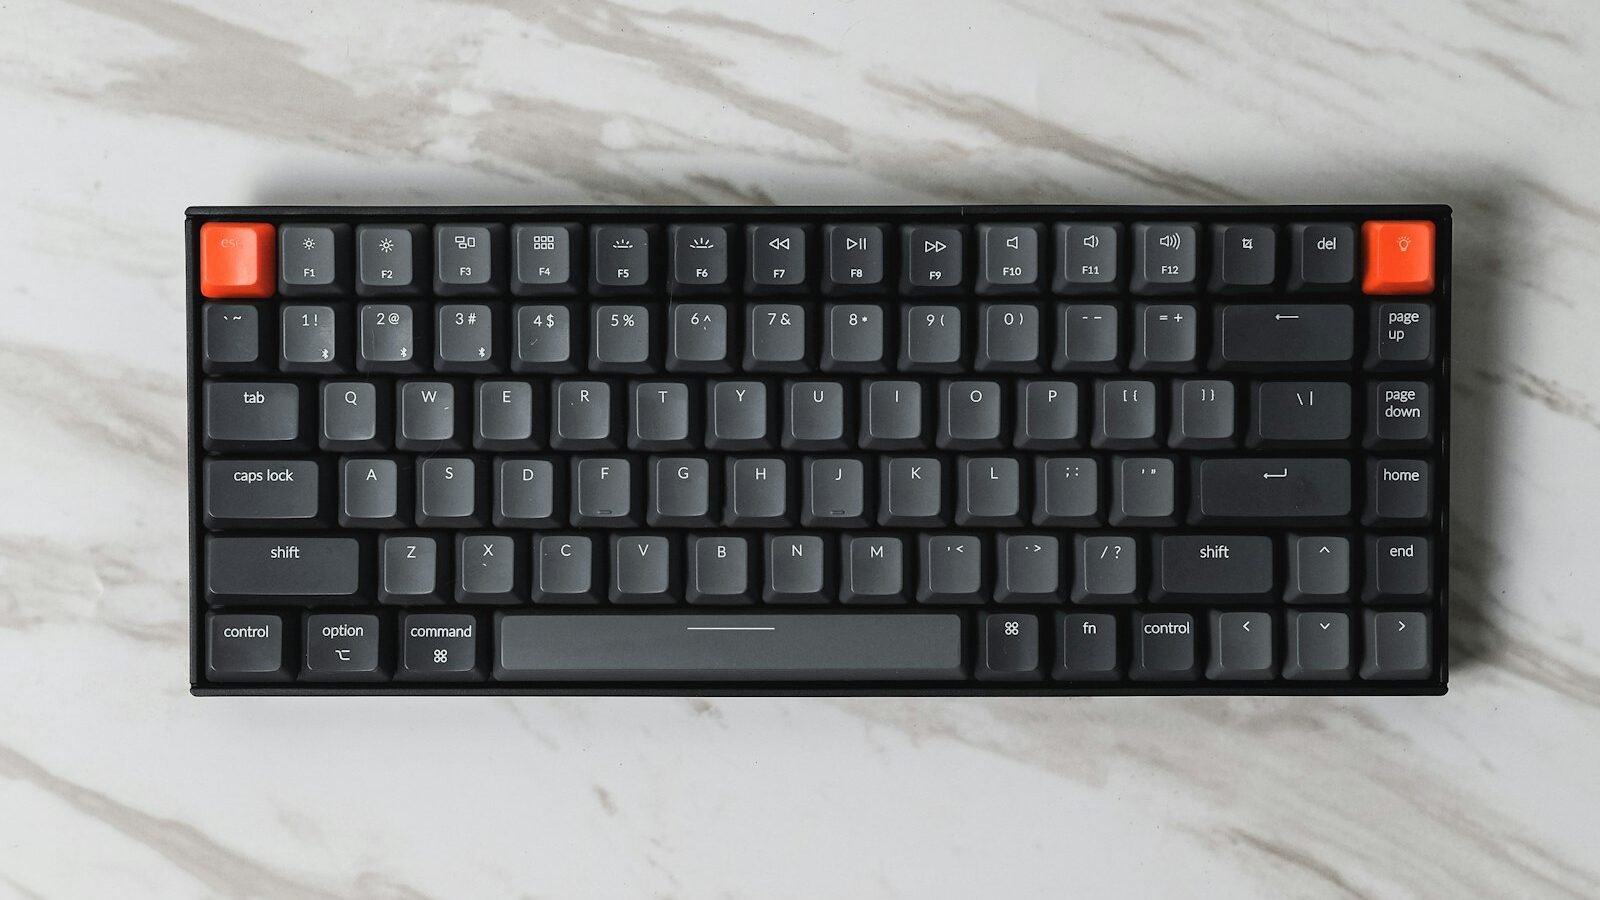
- Mechanical keyboard (individual switches, clicky or thocky), keycaps come off freely and can be washed.
The method below is split by type. Skip to yours.
What you need
- Isopropyl alcohol, 70% or higher (rubbing alcohol)
- Microfibre cloths
- Cotton swabs
- A soft brush: a clean paintbrush or a toothbrush works
- Compressed air or a manual air blower
- A keycap puller (only for mechanical boards; usually comes with the keyboard)
Do not use: window cleaner, bleach, kitchen degreaser, or anything with ammonia. They strip the printed legends off keycaps and can craze plastic. Logitech’s cleaning advice for keyboards and mice rules out bleach, acetone and strong solvents on the same grounds, and tells you to dampen the cloth rather than spray the device. Baby wipes are also a bad idea, most contain oils that leave a film.
Every keyboard: the weekly clean
Two minutes, no disassembly, keeps things from ever getting bad.
- Unplug it. For a laptop, shut down fully, not sleep.
- Turn it upside down and shake gently. Tap the back. You’ll be surprised what comes out.
- Brush between the keys with the soft brush, working in one direction so debris moves out rather than deeper.
- Blow out the rest. Hold compressed air upright, not tilted, and use short bursts at an angle across the keys rather than straight down.
- Wipe the keycaps. Dampen a microfibre cloth with isopropyl, damp, not wet, no drips, and wipe each row.
- Cotton swab the edges. Dip in isopropyl, squeeze out the excess, run around the base of each key.
Isopropyl evaporates in seconds and won’t harm electronics, which is exactly why it’s the right choice over water. Apple’s own guidance on cleaning its products permits a 70% isopropyl alcohol wipe on the keyboard and other hard, non-porous exterior surfaces, with the standing caveat that no moisture should get into any opening.
A note on compressed air
Canned air can spray liquid propellant if you tilt or shake it, and that liquid is very cold — cold enough to crack plastic and leave condensation inside your keyboard. Keep the can upright, use short bursts, and don’t hold the trigger down. Dell’s keyboard cleaning guide carries the same warning about tipping the can, and it’s the instruction people ignore most.
An electric air blower (the kind sold for camera gear) costs about $30, works better, and has none of these problems. If you clean keyboards regularly it pays for itself quickly.
Laptop keyboards: the safe method
Laptop keys sit on scissor mechanisms: two small interlocking plastic pieces that snap into clips. They are brittle, and if you break one, you generally can’t buy a replacement.
Do this:
- Shut the laptop down and unplug it. Remove the battery if it’s removable.
- Hold it at a 45–75° angle, not fully upside down, which can push debris further in.
- Brush and blow between the keys at an angle.
- Wipe with a barely damp microfibre cloth.
- Use cotton swabs around the key edges.
- Leave it open to air-dry for ten minutes before powering on.
Don’t:
- Pop keycaps off “just to clean under them”
- Spray anything directly at the keyboard
- Use a vacuum cleaner: the suction can lift keycaps and static can damage components
- Tip it fully upside down and shake hard
If one specific key feels gritty, press it down and hold it, then blow air into the gap at the top edge. That clears most debris without removing anything. Keys that still drop characters, repeat themselves or land late once the board is clean point at something other than dirt, so work through the fixes for keyboard lag or input delay next.
If a laptop key is already loose or off
Look at the underside of the keycap and the clips on the laptop. There’s a small plastic scissor piece — clip it flat into the base first, then press the keycap straight down until it clicks. Press in the centre, not a corner. If it won’t seat, the scissor is broken and you’ll need a replacement key kit for your exact laptop model.
Mechanical keyboards: the deep clean
This is where you can do a proper job.
1. Photograph the layout first. Take a clear photo of the whole keyboard. You will not remember where every key goes, especially on a compact layout.
2. Pull the keycaps. Use the wire puller if you have one, it’s kinder to the caps than the plastic ring type. Hook it under two opposite corners and pull straight up. For stabilised keys (spacebar, Enter, Shift, Backspace), pull slowly and evenly from both ends.
3. Wash the caps. Put them in a bowl of warm water with a couple of drops of dish soap. Leave them 20–30 minutes, agitate, rinse thoroughly.
Keep the water under 40°C. Hot water fades or removes printed legends. Double-shot and dye-sublimated caps are safe; anything with printed or pad-printed legends is not.
4. Dry them completely. Lay them on a towel, legend side down so water drains out, for at least 12 hours. Don’t use a hairdryer, heat warps ABS plastic. Caps that go back on damp cause the exact sticky feeling you were trying to fix.
5. Clean the exposed board. Brush and blow out the debris, then wipe the plate with isopropyl on a cloth or swab. Avoid soaking around the switches: a little alcohol is fine, a puddle is not.
6. Reassemble. Check your photo. Press each cap straight down until it seats.
Membrane keyboards
Keycaps usually come off but often clip in ways that break. If the board cost under $30 and it’s badly soiled, replacing it is more sensible than a deep clean.
If you do want to open one up: remove all the screws on the underside, separate the shell, and take out the rubber dome sheet and the plastic membrane layers. Wash the plastic shell and keycaps; wipe the membrane sheets gently with a damp cloth and let them dry fully. Do not soak the membrane layers: the printed circuit traces on them scratch off easily.
Spills: what to do in the first sixty seconds
Speed matters more than technique here.
- Cut the power immediately. Unplug a desktop keyboard. On a laptop, hold the power button for ten seconds to force it off, then unplug the charger and remove the battery if you can.
- Turn it upside down so liquid drains out instead of soaking further in.
- Blot with a towel. Don’t wipe, that spreads it.
- Leave it upside down on a towel for 48 hours minimum. Not 12. Not overnight.
Rice does nothing. It’s a myth, and rice dust in the mechanism makes things worse.
Sugary drinks are the real problem. Water may dry out fine; cola, juice and coffee leave a sticky residue that keeps keys jamming. For a desktop keyboard you can rinse the affected keycaps and switch plate with distilled water and let it dry completely. For a laptop, get it to a repair shop, sugar residue corrodes traces over weeks, and the damage often shows up long after the spill.
How often
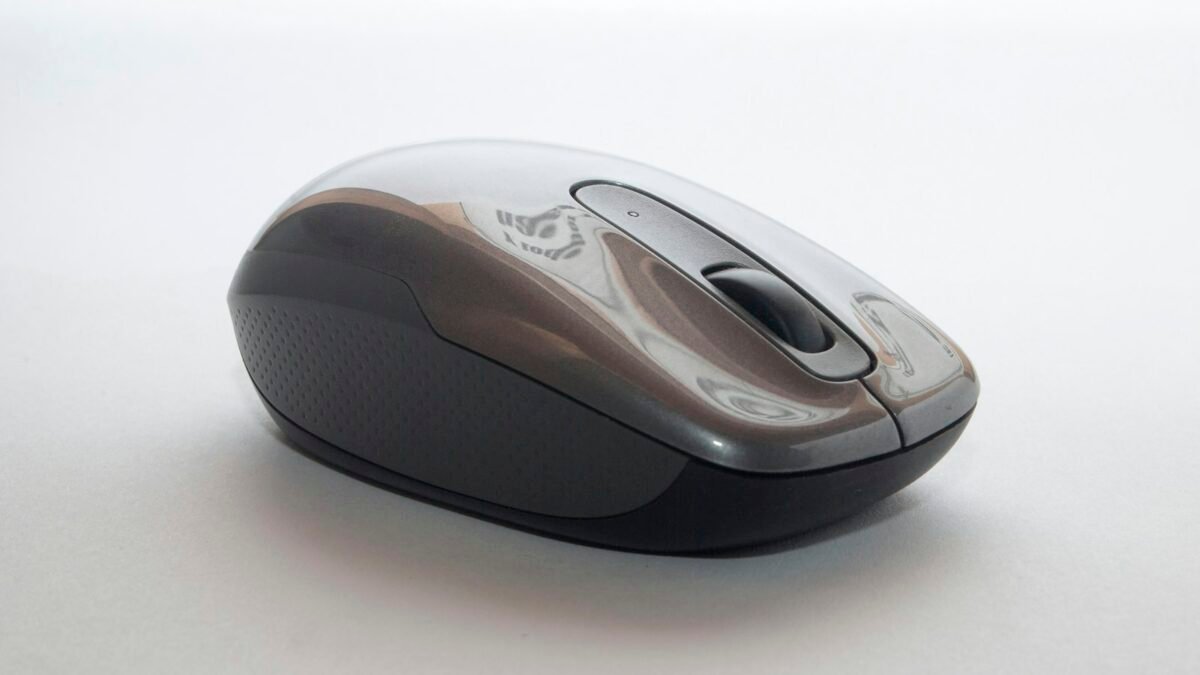
Grit builds up faster than people expect, and the keyboard isn’t the only victim. The same desk dust and skin oil that jams keys is what leaves you with a mouse double-clicking on a single click, so put both on the same schedule.
| Use | Surface clean | Deep clean |
|---|---|---|
| Office, no eating at the desk | Monthly | Yearly |
| Home, occasional snacks | Every two weeks | Every 6 months |
| Gaming, several hours a day | Weekly | Every 3–4 months |
| Shared or hot-desk keyboard | Weekly, with disinfectant wipes | Every 3 months |
Common questions
Can I use water instead of isopropyl?
For keycaps you have already taken off the keyboard, yes: warm soapy water is ideal. For anything still attached to electronics, use isopropyl alcohol instead. Isopropyl evaporates within seconds, while water can sit in crevices for hours and reach the circuitry underneath.
Will washing keycaps remove the letters?
Washing keycaps is safe on double-shot and dye-sublimated sets, where the legend is part of the plastic itself. Pad-printed and laser-etched legends can fade, especially in hot water or with alcohol. Test one key you rarely look at, F12 is a good candidate, before doing the whole set.
Is it safe to put keycaps in the dishwasher?
It is a gamble. People run keycaps on the top rack with no detergent and a cold cycle, and it works often enough that the advice keeps circulating. It also fails often enough, warped caps and faded legends, that hand-washing them in a bowl is the sensible choice.
My keys feel sticky even after cleaning.
Sticky keys after a clean usually mean the caps went back on damp, or residue is still sitting under the switch. Pull that keycap, hold the keyboard at an angle, and spray a short burst of isopropyl into the switch while pressing it several times. Leave it an hour.
Can I vacuum my keyboard?
On a desktop board, a small handheld vacuum with a brush attachment is fine as long as you keep it moving. Never vacuum a laptop keyboard: the suction lifts keycaps, and standard vacuums generate static that can damage components. Blowing debris out is safer than sucking it.
One habit prevents most of this: a cheap silicone cover on a shared or gaming keyboard, or simply not eating over it. A deep clean takes an afternoon. Not needing one takes no time at all.