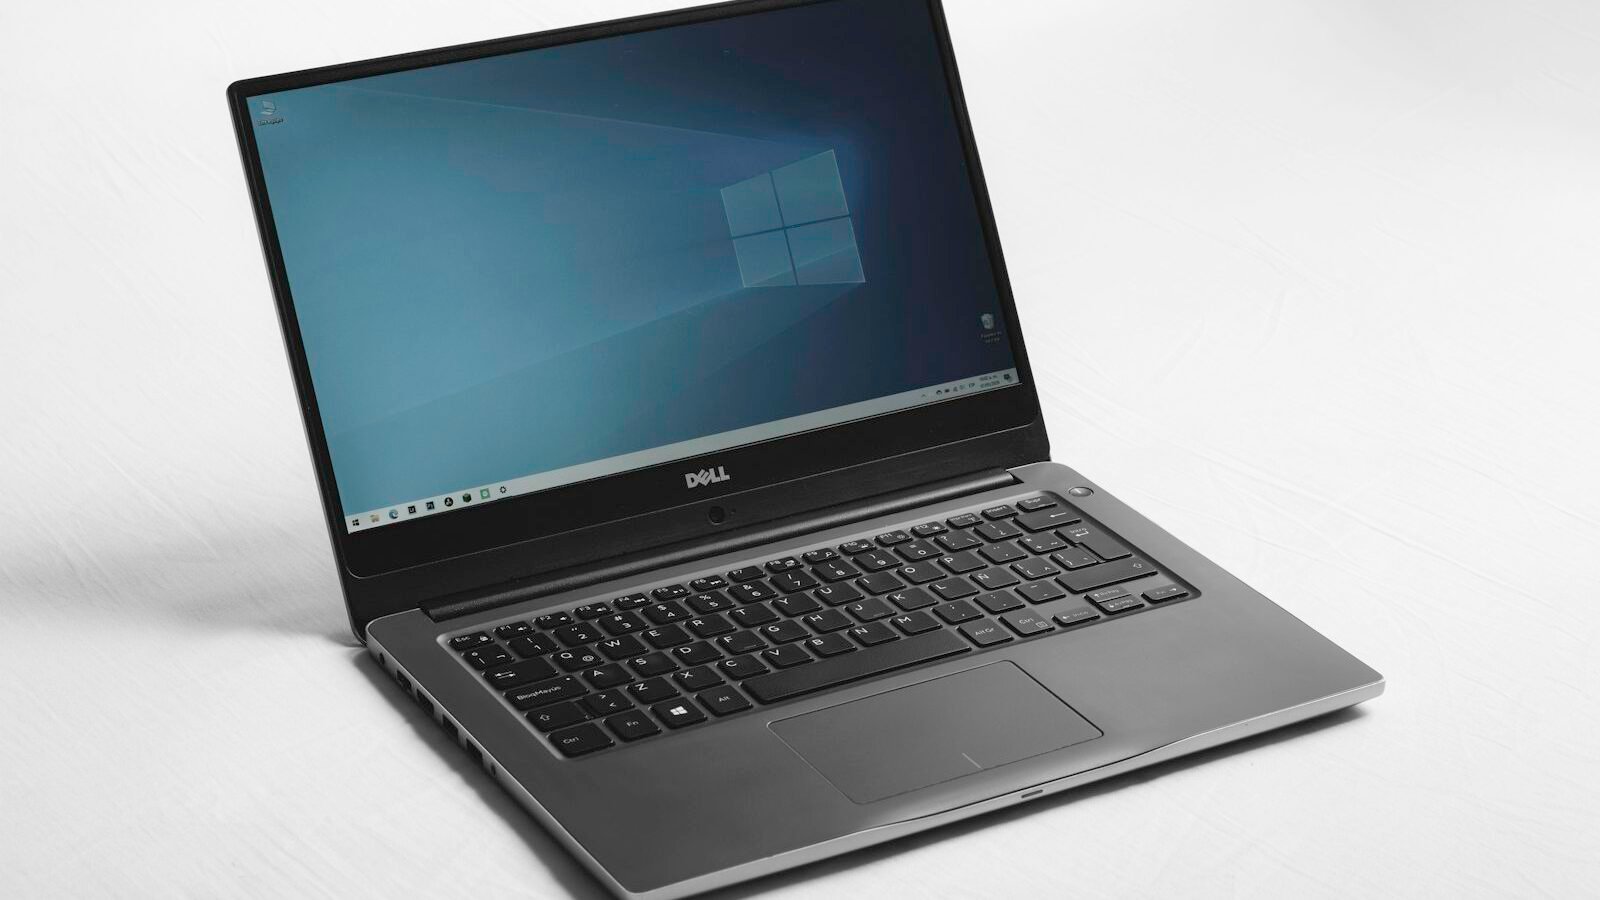
The Windows 11 Installation Assistant, which most people still call the Update Assistant, is Microsoft’s free tool for upgrading the PC you’re using. Download it from Microsoft, run it as administrator, and it upgrades in place, keeping your files, apps and settings.
Windows Update is supposed to offer you Windows 11 automatically. For a lot of machines it never does: the rollout is staged, and eligible PCs can wait months for the offer to appear. The assistant skips that queue.
Before you start
Check three things. Five minutes here prevents the two most common failures.
1. Is your PC eligible?
Download PC Health Check from Microsoft and run it, or work through the full Windows 11 system requirements yourself before you commit to the upgrade. If it says no, read the reason — most failures are TPM or Secure Boot being switched off in firmware rather than missing hardware. Both are usually a BIOS setting away.
2. Do you have enough free space?
You need at least 20 GB free on C:. The upgrade also keeps a rollback copy, so 30 GB is more comfortable. Run Disk Cleanup (cleanmgr) → Clean up system files if you’re short.
3. Have you backed up?
In-place upgrades are reliable, but not perfect. Copy your important files somewhere else first. Ten minutes now beats a bad afternoon later.
Which tool should you use?
Microsoft offers three, and people mix them up constantly.
| Tool | What it does | Use it when |
|---|---|---|
| Installation Assistant | Upgrades this PC, in place, keeps everything | You want to upgrade the machine you’re on |
| Media Creation Tool | Makes a bootable USB or ISO | You’re upgrading several PCs, or doing a clean install |
| Windows Update | The normal, automatic route | It’s actually offering you Windows 11 |
Note the naming: the current tool is called Windows 11 Installation Assistant. “Update Assistant” was the Windows 10 name, and most people still search for it that way, they’re the same idea.
How to upgrade with the Installation Assistant
- Go to Microsoft’s Windows 11 download page, which hosts all three tools
- Under Windows 11 Installation Assistant, click Download Now
- Run the downloaded
Windows11InstallationAssistant.exe— you need administrator rights - It runs a compatibility check. If it passes, accept the licence terms
- It downloads (several GB), verifies, then installs. This takes 30–90 minutes depending on your drive and connection
- You can keep using the PC during download and installation
- When it prompts, click Restart now. The PC restarts several times, don’t interrupt it
After the final restart you’ll be on Windows 11 with your files, apps and settings intact.
Upgrading from Windows 10: what actually happens
Your files stay. Your installed programs stay. Your settings mostly carry over. What changes:
- The Start menu moves to the centre and loses live tiles
- The taskbar can’t be moved to the side or top any more
- Right-click menus are shorter, with the old menu behind Show more options
- Some Windows 10 utilities are replaced
You have 10 days to go back. Settings → System → Recovery → Go back. After 10 days Windows deletes the Windows.old folder and the option disappears.
If you want longer, run this in an administrator Command Prompt before the 10 days are up:
DISM /Online /Set-OSUninstallWindow /Value:60That extends the rollback window to 60 days.
When the Installation Assistant won’t run
“This PC doesn’t currently meet Windows 11 system requirements”
Run PC Health Check to see which check failed, then read it against Microsoft’s published system requirements. TPM and Secure Boot are almost always fixable in firmware:
- Restart into BIOS/UEFI (
Del,F2,F10orF12at startup) - Enable PTT (Intel) or fTPM (AMD)
- Set boot mode to UEFI, disable CSM, enable Secure Boot
- Save and restart
If Secure Boot still shows as Unsupported afterwards, your disk is probably using MBR partitioning, and Secure Boot can’t be turned on until you convert it. Microsoft documents mbr2gpt as converting the partition style without modifying or deleting data on the disk. Run mbr2gpt /validate /allowFullOS then mbr2gpt /convert /disk:0 /allowFullOS from an administrator Command Prompt, then change the firmware settings.
Error 0x8007007f
Right-click the assistant and choose Run as administrator. If it still fails, temporarily disable third-party antivirus and try again, it’s the most common cause of this one.
Stuck at a percentage for a long time
Give it an hour before assuming it’s frozen; 71% and 99% are both known long pauses. If it’s genuinely stuck, restart, run Disk Cleanup, delete everything in C:\Windows\SoftwareDistribution\Download, and start again.
Error 0xC1900101
This is a driver problem, almost always graphics or storage. Update your graphics driver from the vendor, unplug every non-essential USB device, and retry.
Not enough space
Beyond Disk Cleanup, move your Downloads and Documents folders to another drive temporarily, or plug in a 32 GB+ USB drive: the installer can use external storage for temporary files.
Upgrading Windows 10 to 11 without the assistant
If the Installation Assistant keeps failing, the Media Creation Tool route is more forgiving:
- Download the Windows 11 Disk Image (ISO) from the same Microsoft page
- Right-click the ISO → Mount
- Open the mounted drive and run setup.exe
- Choose Keep personal files and apps
This is the same upgrade, but it reads from a local file instead of streaming, which sidesteps a lot of download-related errors.
Windows 10 support has ended
Windows 10 reached end of support on 14 October 2025. No more security updates unless you’re paying for Extended Security Updates. That’s the real reason to do this: an unpatched OS accumulates known vulnerabilities month after month.
If your hardware genuinely can’t run Windows 11, your options are ESU (paid, limited term), a new PC, or moving to something like Linux Mint on older hardware.
After the upgrade
A few things worth doing straight away:
- Check your drivers. Device Manager → look for yellow warning icons. Install graphics and chipset drivers from the vendor rather than relying on Windows Update.
- Free up the rollback space. Once you’re sure you’re staying, run Disk Cleanup → Clean up system files → tick Previous Windows installation(s). That recovers 20–30 GB. This removes your ability to roll back.
- Review startup programs. Task Manager → Startup apps. Upgrades often re-enable things you’d disabled.
- Set up the taskbar and Start menu the way you want — Settings → Personalisation → Taskbar.
Common questions
Is the Installation Assistant safe?
Yes, the Windows 11 Installation Assistant is safe as long as you download it from microsoft.com. It is Microsoft’s own upgrade tool. Third-party sites hosting files named “Windows 11 Update Assistant” tend to bundle adware, so check the address bar before you click download.
Will I lose my programs?
No. Upgrading with the Windows 11 Installation Assistant is an in-place upgrade, so installed applications, files and settings carry over. A clean install from USB media does not keep your programs, and that is the practical difference between the assistant and the Media Creation Tool.
How long does it take?
A Windows 11 upgrade through the Installation Assistant takes 30 to 90 minutes on most machines. An SSD and a fast connection put you at the lower end. An older hard drive, or a slow connection, can push the whole job past two hours.
Can I use my PC while it upgrades?
Yes, during the download and the first installation phase you can carry on using the PC normally. Once the Windows 11 Installation Assistant restarts the machine, you can’t: leave it alone through the restarts until the upgrade finishes and the desktop returns.
Do I need a product key?
No. If your copy of Windows 10 was activated, Windows 11 activates itself after the upgrade using the digital licence tied to your hardware. Nothing extra needs buying and no key needs typing in, because that licence stays with the machine.
What if I don’t like Windows 11?
You have 10 days to roll back to Windows 10: Settings → System → Recovery → Go back. After that window closes Windows deletes the Windows.old folder, so returning means a clean install of Windows 10, with backing up and setting the machine up again.
The single biggest cause of failed upgrades is a firmware setting, not old hardware. Before you conclude your PC is too old, go into the BIOS and check whether TPM and Secure Boot are simply switched off. On most machines built after 2016, they are.